Japan Travel Guide 2026: What This Article Actually Solves
Japan is one of the most logistically demanding destinations on earth for first-timers. Not because it is unwelcoming — it is the opposite — but because every system works differently from what you know at home. The rail network has seven competing operators. Cash still dominates. Cultural rules are unwritten but enforced through social pressure. Get these things wrong and you spend your first three days confused and overpaying.
This guide removes that friction. I have taken 12 separate trips to Japan since 2011, including two in the post-pandemic surge period. What follows is the honest, specific information I wish I had on my first trip: when to go, what to skip, how much to budget, and a 14-day itinerary that balances Tokyo, Kyoto, and Osaka without burning you out by day five.
If you are doing serious trip planning for 2026, you are in the right place.
Japan in 2026: The Tourism Reality You Need to Know First
Japan welcomed a record 36.8 million foreign visitors in 2024. That number is projected to keep climbing. The practical consequence is this: the “hidden gem” version of Japan that older travel blogs describe no longer exists in the same form. Fushimi Inari at dawn still has crowds. Arashiyama bamboo grove at 7am still has crowds. Shibuya Crossing at any hour has crowds.
This is not a reason to skip Japan. It is a reason to plan smarter than the average tourist.
Prices have also shifted. The yen recovered somewhat in late 2024 and early 2025, so the extreme budget advantage Western travellers enjoyed in 2022–2023 has narrowed. A mid-range hotel in Tokyo that cost ¥12,000 per night two years ago now averages ¥18,000–¥22,000. Budget the way Japan actually costs in 2026, not the way it cost in older guides.
Several cities have introduced or expanded tourist taxes. Kyoto charges ¥200–¥1,000 per night depending on accommodation tier. Fujikawaguchiko (Fuji Five Lakes area) now charges a ¥2,000 per-person day-visitor fee for certain access routes. These are small amounts, but they catch people off guard when not expected.
Best Time to Visit Japan in 2026
Cherry Blossom Season (Late March to Mid-April)
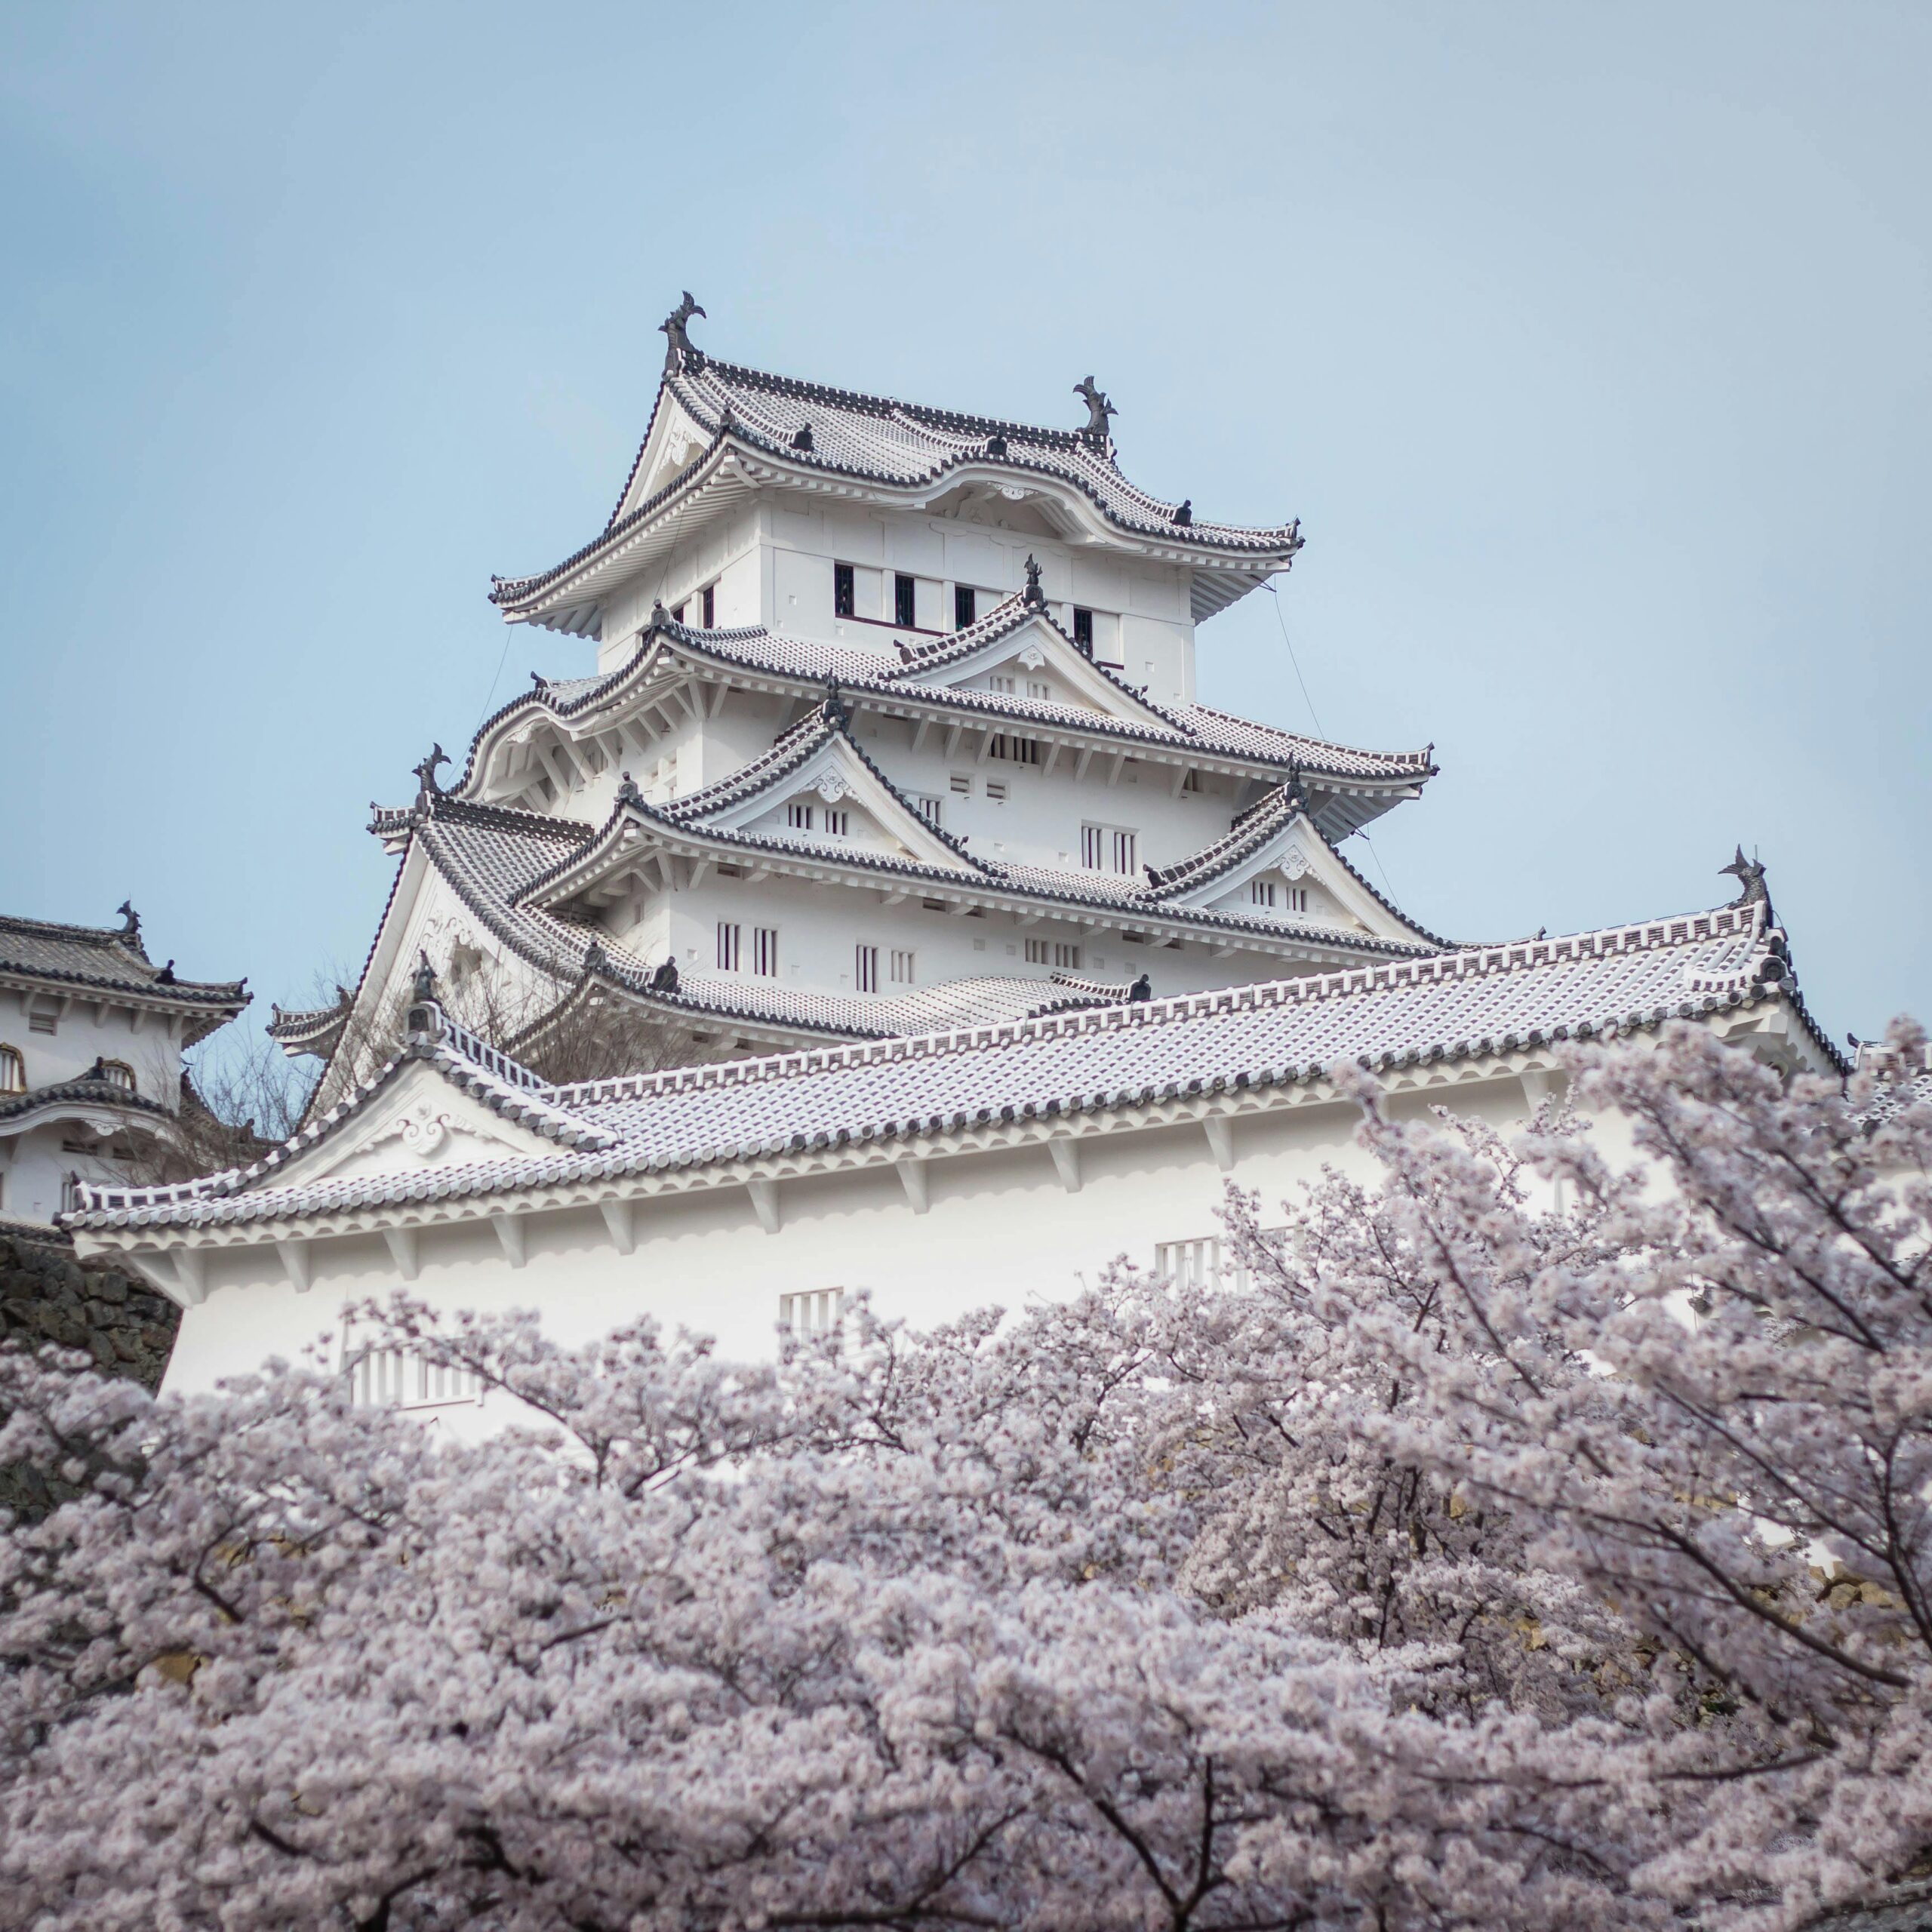
Cherry blossom season is genuinely worth the hype, but book accommodation six months in advance minimum. In 2025, Tokyo peak bloom hit March 25th. Kyoto peaked around March 28th. These dates shift by up to two weeks year to year based on winter temperatures. The Japan Meteorological Corporation releases forecasts from January. Check those forecasts, then book flexible-rate accommodation so you can adjust arrival by a few days if needed.
The trade-off: prices spike 30–50% during peak bloom week. Crowds at Maruyama Park in Kyoto and Ueno Park in Tokyo are genuinely dense. If you want blossom without the peak pressure, target the first week of April in Tohoku (northern Honshu) or late April in Hokkaido — same flowers, half the crowd, lower prices.
Autumn Foliage (Mid-November to Early December)
Autumn is, in my experience, the single best time to visit Japan. Temperatures sit between 8°C and 18°C, which is comfortable for walking 25,000 steps per day — which you will do. The foliage in Nikko peaks mid-to-late November. Kyoto’s Tofuku-ji temple hits peak red around November 20–25. Crowds are real but slightly more manageable than cherry blossom season because the peak is spread across three weeks rather than ten days.
What to Avoid: Summer Humidity
July and August in Japan are genuinely difficult. Tokyo averages 34°C with 80% humidity. Kyoto is worse. You will walk less, sleep worse, and spend more on drinks and cooling breaks. If summer is your only option, base yourself in Hokkaido (Sapporo averages 26°C in August) or accept higher air-conditioning bills and reduced daily range.
Japan Rail Pass: The Math That Actually Matters
The JR Pass is sold as essential for all Japan visitors. It is not. Whether it saves you money depends entirely on your itinerary.
A 14-day JR Pass costs approximately ¥50,000 (around $330 USD at 2026 exchange rates). Here is when that math works: Tokyo to Kyoto on the Nozomi Shinkansen costs ¥14,050 one way. Kyoto to Hiroshima costs ¥11,220. Hiroshima back to Tokyo via Kyoto costs another ¥14,050. That alone totals ¥39,320. Add Osaka to Tokyo (¥13,620) and you have ¥52,940 — meaning the pass pays for itself on four major shinkansen legs alone.
When the pass does NOT make sense: if you are staying only in Tokyo, or only in the Kansai region (Osaka-Kyoto-Nara). Individual legs within those zones are cheaper by IC card or regional pass. The Kansai Thru Pass (¥4,200 for 2 days, ¥5,200 for 3 days) covers buses, subways, and private railways in Osaka, Kyoto, Nara, and Kobe far more efficiently than the JR Pass for Kansai-only travel.
Critical note: the JR Pass does NOT cover Nozomi or Mizuho shinkansen services. These are the fastest bullet trains on the Tokaido line. You must use Hikari or Kodama trains, which add 20–40 minutes to Tokyo-Kyoto journeys. Build this into your schedule. On 12 trips through Japan I have seen people miss connections by forgetting this detail.
Tokyo: 3–4 Days Done Right
Which Neighborhoods to Prioritize
Tokyo has 23 wards and could consume two weeks on its own. For first-timers with 3–4 days, focus on: Shinjuku for your first night arrival (excellent transport hub, food at any hour, Golden Gai for tiny bars seating eight people), Harajuku and Omotesando for the contrast between Takeshita Street youth culture and luxury retail, Yanaka for old Tokyo atmosphere that survived the 1923 earthquake and World War II bombing, and Akihabara if electronics or anime interest you at all.
Skip the Tokyo Skytree unless you have a specific reason to go — the view from the free 45th-floor observation deck at the Tokyo Metropolitan Government Building in Shinjuku is comparable and costs nothing. The Skytree summit ticket costs ¥3,100 and requires a timed reservation during busy periods.
What Is Overrated in Tokyo
TeamLab digital art installations: beautiful photographs, exhausting queues, ¥3,200 admission. The 45-minute wait I experienced in October 2024 meant the “immersive” experience felt rushed. Shibuya Sky rooftop: ¥2,000, good view, but the rooftop is exposed and windy. The Ramen Museum in Shin-Yokohama: technically impressive, but ramen from a street-level shop in Fuunji (Shinjuku) or Ichiran (available citywide) is better and costs ¥1,000–¥1,200 versus the museum’s ¥500 entry plus ¥1,200+ per bowl.
Kyoto: 2–3 Days Without the Rookie Mistakes
Temple Strategy That Actually Works
Kyoto has 1,600 temples and shrines. You cannot see all of them. Do not try. Instead, pick two to three that match your interests and give them time. My recommendation for first-timers: Fushimi Inari (arrive by 6:30am — the lower gates are crowded by 8am, but the upper mountain path above the second rest stop clears out significantly), Kinkaku-ji (accept the crowds, stay only 30 minutes, it is worth seeing once), and either Ryoan-ji for the famous dry rock garden or Nijo Castle for the history.
Arashiyama bamboo grove: I want to be honest here. The grove itself takes eight minutes to walk through. The crowds in 2024 and 2025 made it feel like a theme park queue. Go at 6:45am or skip it in favor of the quieter paths around Jojakko-ji temple, which is 400 meters uphill from the main grove and has similar bamboo with a fraction of the visitors.
Day Trips from Kyoto
Nara: 45 minutes from Kyoto by Kintetsu Limited Express (¥760 one way). The free-roaming deer at Todai-ji are worth it. Buy shika senbei (deer crackers) from a vendor — ¥200 per bundle — and brace yourself for assertive deer that will bite your bag if you hold crackers too long. Todai-ji admission is ¥600. Allow half a day total.
Arashiyama: Technically within Kyoto city limits. Take the JR Sagano Line from Kyoto Station (17 minutes, ¥240). Beyond the bamboo grove, Tenryu-ji garden (¥500) is genuinely beautiful and far less crowded than the grove. Rent a bicycle near Togetsukyo Bridge for ¥1,000 per hour to cover more ground.
Osaka: 2 Days Focused on What the City Does Best
Osaka is Japan’s food capital by consensus and by caloric output. The local philosophy — kuidaore, roughly “eat until you collapse” — is not a metaphor. Dotonbori canal at night is genuinely one of the best urban street food experiences I have had anywhere: takoyaki (octopus balls, ¥600 for 8), kushikatsu (deep-fried skewers, ¥150–¥300 each) at Daruma, fresh crab at Kani Doraku.
Osaka Castle is worth two hours of your time for the historical context it provides for understanding the Edo period, but note that the interior is a modern concrete museum built in 1931, not the original structure. The castle exterior and grounds are free. The museum inside costs ¥600. I find the grounds more interesting than the interior.
Dotonbori during the day is manageable. After 7pm it becomes a shoulder-to-shoulder crowd. If crowds exhaust you, base your Dotonbori visit at 5pm — good light for photos, accessible walking, street food vendors warming up.
Day Trips Worth the Journey
Hiroshima and Miyajima
Hiroshima Peace Memorial Museum is one of the most important museum experiences I have had. Set aside three hours minimum. Do not rush it. The A-Bomb Dome is a ten-minute walk from the museum. After the museum, take the Hiroshima tram (¥220) to the ferry terminal for Miyajima Island. The floating torii gate of Itsukushima Shrine is photogenic at both high and low tide — at high tide it appears to float, at low tide you can walk to its base. Check tide tables for your visit date at the Japan Meteorological Agency website.
Hakone
Hakone is the most accessible view of Mount Fuji from Tokyo (90 minutes by Romancecar express train from Shinjuku, ¥2,470 one way). The Hakone Free Pass (¥6,100 from Shinjuku, 2 days) covers the Romancecar, Hakone Ropeway, Lake Ashi boat cruise, and most local transport — it pays for itself in a single day if you use multiple modes. Mount Fuji is visible only in clear weather. Check the Hakone Ropeway live camera the morning of your visit before committing. I have taken this trip and been completely clouded out. It happens. Have a backup plan (Hakone Open-Air Museum, ¥1,600, is excellent).
Japan Travel Budget: What Things Actually Cost in 2026
Daily Cost Breakdown
Budget traveler (hostels, convenience store meals, local transport): ¥8,000–¥12,000 per day ($53–$80 USD). This is achievable but requires eating at 7-Eleven and Lawson (genuinely good food — onigiri at ¥150, hot food at ¥250–¥400), staying in 6-bed dorm rooms, and limiting paid attractions to one or two per day.
Mid-range traveler (business hotels, sit-down restaurants twice daily, moderate attractions): ¥20,000–¥35,000 per day ($133–$233 USD). A Toyoko Inn or APA Hotel double room runs ¥9,000–¥14,000. A set lunch at a decent restaurant costs ¥1,000–¥1,500. Dinner at a mid-range izakaya with drinks runs ¥3,000–¥5,000 per person.
High-end (boutique hotels, multi-course meals, private experiences): ¥80,000+ per day ($530+ USD). A night at a traditional ryokan with kaiseki dinner included runs ¥30,000–¥80,000 per person. This is a legitimate Japan experience worth budgeting for at least one night.
Cultural Rules That Are Not Optional
Remove shoes when entering homes and many traditional restaurants. Look for a genkan (entryway step down) and a row of indoor slippers as your signal. Step out of your shoes before the step, not on top of it.
Trash etiquette: Japan has almost no public bins. You carry your own trash. Convenience stores have bins for their own packaging — use those. Do not leave trash on temple grounds or in parks. Japanese streets are clean because everyone follows this rule without being asked.
No eating while walking. Eating at a food stall while standing next to it is fine. Strolling down Dotonbori eating takoyaki is technically a breach of local etiquette, though increasingly tolerated in tourist zones. On public transport, no eating (except on shinkansen — food on bullet trains is an accepted tradition and one of the best parts of the journey).
Queue discipline is absolute. Mark queue lines at train platforms. Enter through designated doors. Stand on the correct side of escalators (left in Tokyo, right in Osaka — genuinely different).
Practical Logistics: IC Cards, Cash, and SIM Cards
IC Card (Suica or Pasmo): Load one immediately at Tokyo Station or Narita Airport. This card handles every subway, bus, and tram in Japan, plus purchases at convenience stores, vending machines, and some restaurants. In 2026 you can add Suica to Apple Wallet or Google Pay before you leave home, which I now do on every trip — it means I never have to stand at a machine loading cash at peak arrival time.
Cash: Japan remains a cash-heavy country in 2026, though less so than five years ago. Budget ¥30,000–¥50,000 in cash for a two-week trip for smaller restaurants, temples, taxis, and any business that does not accept cards. 7-Eleven ATMs accept international cards reliably. Japan Post ATMs also work. Avoid airport currency exchange rates — they are 3–5% worse than 7-Eleven ATM rates.
SIM Card or Pocket WiFi: Buy a data SIM at Narita or Haneda airport on arrival (IIJmio, Mobal, or Ubigi). A 15-day unlimited data SIM costs ¥3,500–¥5,000. This is essential — Google Maps with offline maps downloaded is how you navigate train systems, and you need a live connection for real-time train updates. Do not rely on pocket WiFi rentals if you are traveling in a group that will separate during the day.
Common Mistakes That Cost Real Money and Time
Mistake 1: Buying the JR Pass when your itinerary does not justify it. I have met travelers in Kyoto who bought a 14-day pass to travel Osaka-Kyoto-Nara only. Those three routes cost under ¥5,000 total on individual tickets. They spent ¥50,000 on a pass they used for ¥5,000 worth of travel.
Mistake 2: Scheduling temples back to back without buffer. Visiting Kinkaku-ji, Ryoan-ji, and Nijo Castle in a single morning sounds possible on a map. The reality includes transport time, queues, and genuine mental fatigue from processing so much historical information. Two major sites per day is the sustainable ceiling for most travelers.
Mistake 3: Ignoring the Nozomi restriction on JR Pass. Booking a shinkansen online, arriving at the platform, and discovering your pass does not cover the train you booked is a stressful experience. Always confirm at a JR office that the train you plan to take is Hikari or Kodama class.
Mistake 4: Leaving Kyoto accommodation booking until two months out during cherry blossom season. In 2025, mid-range accommodation in Kyoto during peak bloom week was sold out or ¥35,000+ per night by January. Book in September or October for a March-April trip.
Mistake 5: Not downloading offline maps before arrival. Airport WiFi is patchy at immigration. The walk from the arrivals gate to the train platform at Narita takes 15 minutes. You need your navigation working before you land, not after.
Money-Saving Strategies That Actually Work
Eat breakfast and lunch at convenience stores. A 7-Eleven onigiri costs ¥150. Hot soba from a standing noodle bar costs ¥400–¥600. Save your restaurant budget for dinner. This single habit saves ¥2,000–¥4,000 per day without sacrificing quality — Japanese convenience store food is genuinely better than most Western sit-down restaurants.
Use the 100-yen Daiso stores for forgotten travel items. Adapters, umbrellas, travel pouches, first aid supplies — all ¥110 at Daiso. Do not buy these at the airport.
Book accommodation outside central districts. A hotel 10 minutes from Shinjuku by subway costs 40% less than one in Shinjuku itself. Japan’s urban train network is so efficient that “inconvenient” locations are rarely more than 20 minutes from anywhere you need to be.
Look for teishoku (set meals) at lunch. Many restaurants that charge ¥3,000 for dinner offer the same quality food as a ¥1,200 teishoku at lunchtime — grilled fish or meat, rice, miso soup, and pickles. These are some of the best value meals in Japan and are typically available 11:30am–2:00pm only.
Pro Tips for Travelers Who Know the Basics
Book shinkansen seats on the left side (seats A and B on most Tokaido Shinkansen departing Tokyo southbound) for Mount Fuji views. Fuji appears roughly 40–45 minutes after departure from Tokyo, on the right side coming back. Most tourists do not know which side to choose until after the mountain has passed.
The Express Bus from Tokyo Station to Kyoto (Willer Express, JR Highway Bus) costs ¥3,500–¥5,000 overnight and saves a night’s accommodation cost. It arrives around 7am. The trade-off is poor sleep quality. I use this for the Tokyo-Kyoto leg only when I need to stretch my accommodation budget.
Carry your passport for tax-free shopping. Japan’s consumption tax exemption applies to foreign visitors spending over ¥5,000 at participating stores. Electronics, cosmetics, and clothing qualify. Department stores (Takashimaya, Isetan) have dedicated tax-free counters. The refund is 10% of your purchase — meaningful on ¥20,000+ electronics purchases.
Learn to read katakana before you arrive. Katakana is one of Japan’s phonetic alphabets, used predominantly for foreign words and Western menu items. It takes 2–3 hours to learn with a free app like Duolingo or Kana Mind. Once you can read katakana, menus and signage become 40% more legible overnight.
14-Day Japan Itinerary: The Structure That Works
Days 1–4: Tokyo. Day 1: Arrive, Shinjuku orientation, recover from jet lag with an early night. Day 2: Harajuku, Meiji Shrine, Omotesando, Shibuya Crossing at night. Day 3: Yanaka neighborhood in the morning (quiet, old Tokyo), Akihabara afternoon, Shinjuku Golden Gai evening. Day 4: Asakusa and Senso-ji Temple early morning, Ueno museums afternoon, depart for Hakone by 3pm.
Days 5–6: Hakone. Day 5: Hakone Ropeway and Owakudani volcanic valley, Lake Ashi cruise, stay at a mid-range ryokan (book Fukuzumiro or Hyatt Regency Hakone if budget allows). Day 6: Mount Fuji view attempt from Owakudani (weather dependent), afternoon shinkansen to Kyoto.
Days 7–9: Kyoto. Day 7: Fushimi Inari at 6:30am, Nishiki Market at 10am, Gion district evening (best chance of geisha sighting between 5–7pm near Hanamikoji Street). Day 8: Arashiyama (Tenryu-ji garden, bamboo grove early), afternoon at Philosopher’s Path for foliage (autumn) or blossom (spring). Day 9: Full day in Nara as day trip.
Days 10–11: Osaka. Day 10: Osaka Castle morning, Kuromon Market lunch (it is a covered market with 170 food stalls — allow 90 minutes), Dotonbori evening. Day 11: Shin-Sekai neighborhood (working-class Osaka, excellent kushikatsu), Sumiyoshi Taisha shrine (one of Japan’s oldest, rarely visited by tourists), Hozenji Yokocho alley at night.
Day 12: Hiroshima and Miyajima. Early shinkansen from Osaka (40 minutes to Hiroshima), Peace Memorial Museum 9am–noon, Miyajima Island afternoon, back to Osaka or Kyoto for night.
Days 13–14: Return to Tokyo. Day 13: Shinkansen to Tokyo, Shibuya Sky or Tokyo Metropolitan Government Building observation deck, farewell dinner in a depachika (department store basement food hall — the food halls at Isetan Shinjuku or Takashimaya deserve one visit). Day 14: Morning market at Tsukiji outer market (inner market moved to Toyosu but the outer stalls remain excellent — fresh tuna on rice for ¥1,500 at 7am), afternoon airport transfer from Shinjuku to Narita on the Narita Express (¥3,070, 90 minutes, covered by JR Pass).
Quick Reference: Japan First-Timer Checklist
- Book accommodation 6+ months ahead for cherry blossom (March–April) and autumn foliage (November) seasons
- Calculate your shinkansen costs before buying a JR Pass — it only saves money if you are doing 3+ long-distance legs
- JR Pass does not cover Nozomi or Mizuho shinkansen trains — use Hikari or Kodama
- Buy or activate Suica/Pasmo IC card immediately on arrival — add to Apple/Google Wallet before departure
- Withdraw cash from 7-Eleven ATMs — they accept all international cards reliably
- Download Google Maps offline for Tokyo, Kyoto, and Osaka before you land
- Learn katakana before arrival — 2–3 hours of study unlocks menus and signs
- No eating while walking on streets (shinkansen is the exception)
- Carry your trash — public bins are almost nonexistent
- Remove shoes at the genkan step in homes and traditional restaurants
- Eat breakfast and lunch at convenience stores to save ¥2,000–¥4,000 daily
- Book Fushimi Inari visit for 6:30am — the upper path clears after the second rest stop
- Check Hakone Ropeway webcam before visiting for Fuji visibility
- Carry your passport for tax-free shopping on purchases over ¥5,000
- Sit on the left side of the shinkansen (seats A and B) for Mount Fuji views heading southwest from Tokyo

Pascal Okoye is a passionate travel writer, explorer, and the creative voice behind some of the most inspiring destination guides and travel narratives published on HPC Blogs. With a deep love for discovery and a talent for translating real-world travel experiences into practical, inspiring content, Pascal has established herself as a trusted authority in the travel writing space.
Pascal’s travel philosophy is rooted in purposeful exploration — the belief that every journey, whether across continents or close to home, has the power to transform perspective, broaden horizons, and enrich lives. His writing reflects this ethos, blending honest destination insight with the kind of emotional storytelling that turns a reader’s wanderlust into action.
Through his work on HPC Blogs and his personal travel platform, Bags Are Packed Travel by Inspire, Ali covers a wide range of travel topics — from budget-friendly itineraries and hidden gems to luxury escapes and solo travel tips. His content is informed by first-hand experience, meticulous research, and a genuine desire to help fellow travelers make the most of every adventure.
Whether you are planning your first international trip or looking to discover a destination off the beaten path, Ali’s guides offer the clarity, depth, and inspiration you need to travel with confidence.